
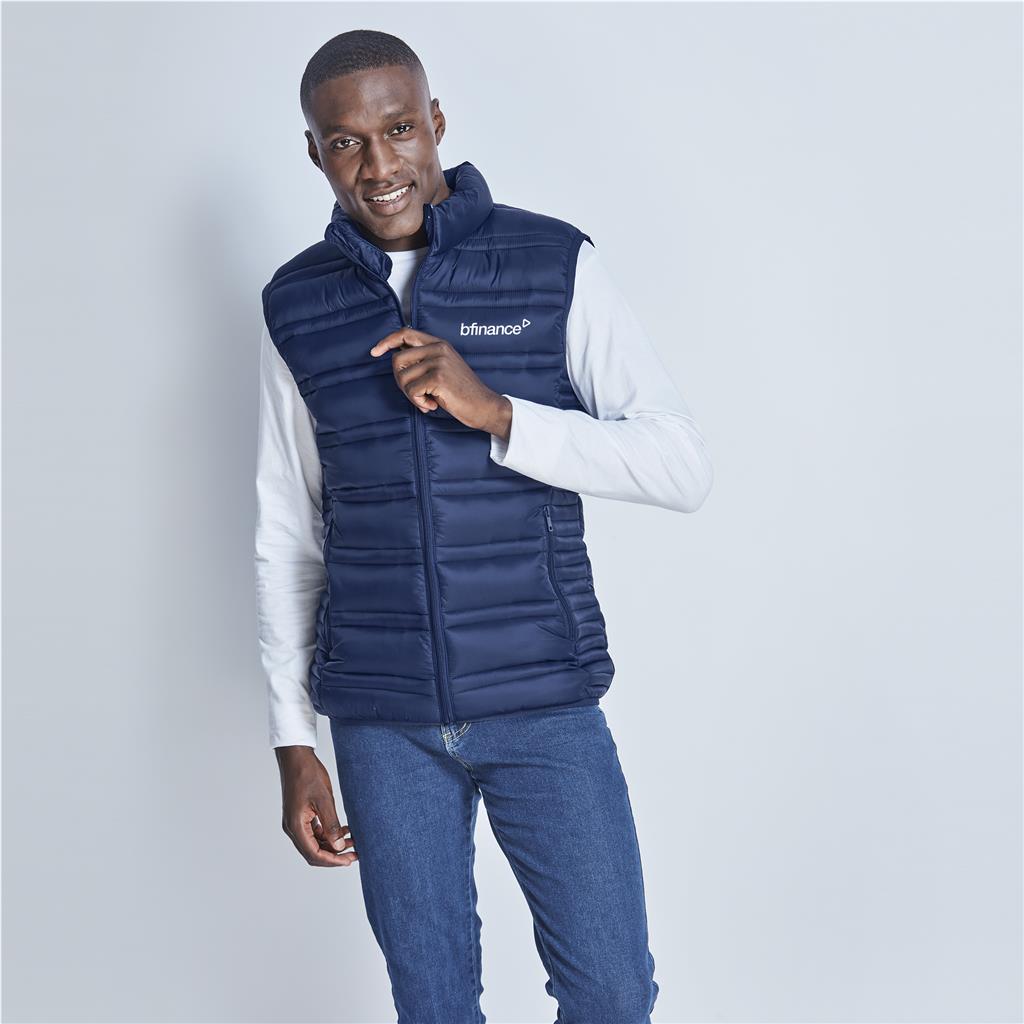


Mens Aurora Bodywarmer
R590.00
EMBROIDERY - Minimum of 10
SUMBLIMATION - Variable Min Qty
Banners & Gifts – No Min Quantity
Foiling – Excludes Foil Block Price
Embroidery – Embroidery is only quoted when Logo is provided
Courier – Prices Exclude Courier Fee
| Product x 1 | R Please select an option above. |
| Setup | R 0.00 |
| Branding | R 0.00 |
| Selected branding has a higher minimum quantity — increase qty to see branding pricing. | |
| Each | R 0.00 ea |
| Total ( Excluding VAT ) | R Please select an option above. |
All prices are Excluding VAT.
* Prices are subject to change
Product Description
-
100% nylon
-
unique asymmetrical quilting pattern
-
full zip with metal zip puller
-
zip pockets with metal zip pullers
-
quilted outer and inner
-
wind placket
-
chin protector
-
elasticated armholes
-
elasticated hem
-
inner pockets
-
water repellant
-
wind resistant
Related products
-
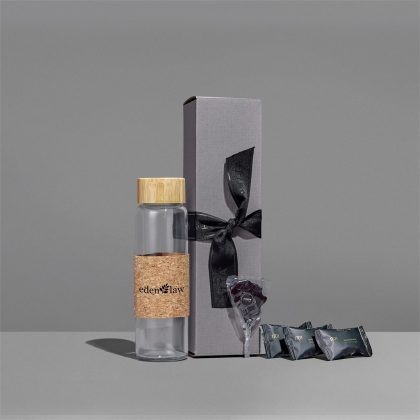
Yatta Cozy Comfort Hamper
R350.00 -

Kiddies School Hat
R95.00 -
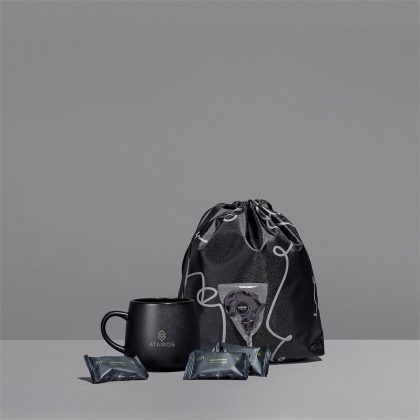
Yatta Little Bundle Hamper
R260.00